field_i_picture
field_t_subtitle
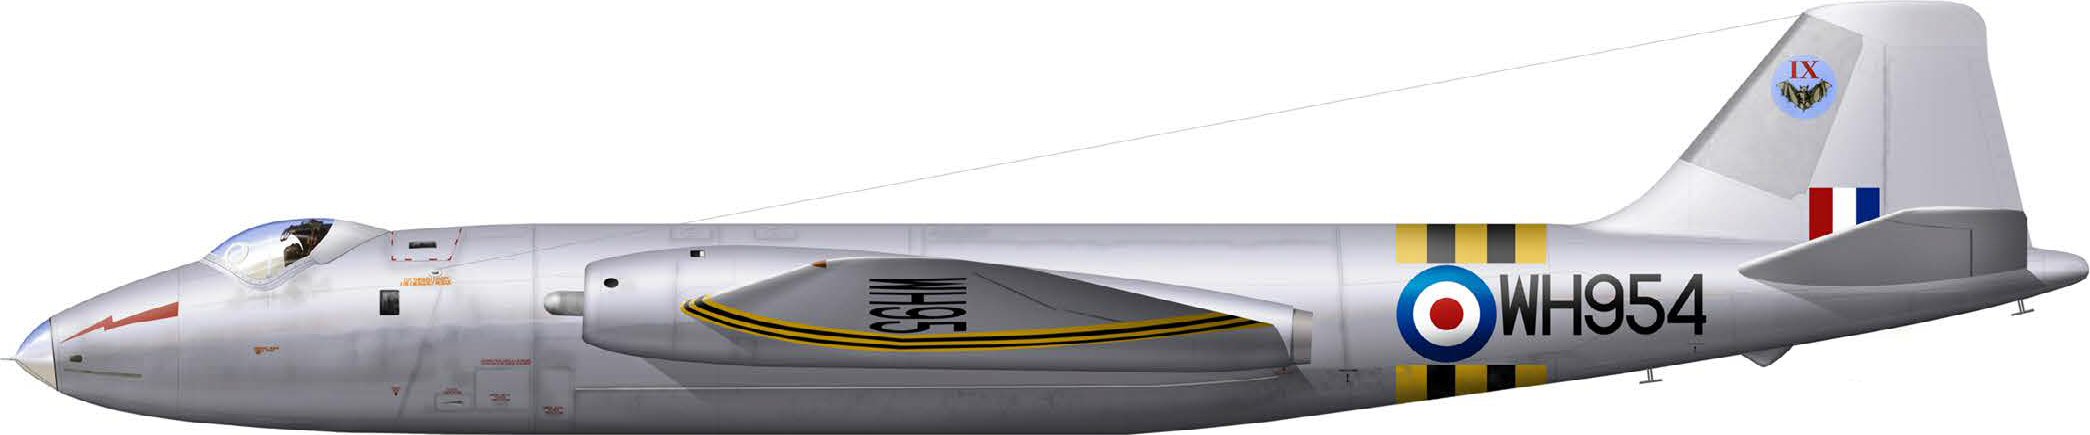
Canberra B.Mk 6
vf_node_items
| field_i_picture | title (item) | field_cer_web | field_cer_navbox | g_geofield | |
|---|---|---|---|---|---|
| |
English Electric Canberra | ||||
| |
English Electric Canberra | ||||
| |
English Electric Canberra | ||||
| |
English Electric Canberra | ||||
| |
English Electric Canberra | ||||
| |
English Electric Canberra | ||||
| |
English Electric Canberra |
field_in_sequence
1
field_in_sequence2
1
field_t_remark
The majority of Canberra bombers involved in Operation Musketeer were the older B.Mk 2s, all of which were forward deployed on Cyprus. Canberra B.Mk 6s, which carried additional internal fuel and were powered by uprated engines, were all concentrated at Malta. Amongst the units operating the latter variant was No. 9 Squadron. Based at RAF Hal Far, this went into combat flying 10 Canberra B.Mk 6s, including WH954 (shown here), WH961, WH969, WH972, WH973, WH974, WH977, WH981, WH995 and WT205. A few received an ‘anti-glare panel’ in matt black in front of the cockpit; most wore the red flash on the nose, full invasion stripes and the unit insignia on the fin. (Artwork by Tom Cooper)
field_t_subtype
profile left
fr_quality